The Ultimate Guide to Mastering the Art of Painting Laminate Cabinets
Refurbishing your kitchen can be a deeply rewarding project. After all, the kitchen is often the bustling heart of the home, and revamping it can breathe new life into a tired space. If you're looking to refresh your kitchen's look without breaking the bank, learning how to properly paint your laminate cabinets is a fantastic place to start. It's a DIY project with satisfying results and considerable cost savings compared to a full kitchen remodel. In this comprehensive guide, we’ll walk you through each step of the process, providing expert tips along the way.
Understanding Laminate Cabinets
Before you dip your brush into your favorite shade of paint, it's important to understand the surface you're working with. Laminate cabinets are often found in kitchens due to their durability and sleek, modern appearance. They are made of a thin layer of printed plastic or melamine adhered to a substrate of particle board or plywood. This makes them a great candidate for painting as long as you follow the proper steps to ensure the paint adheres and the finish is long-lasting.
Why Paint Laminate?
There are numerous reasons why you might choose to paint your laminate cabinets instead of replacing them. It's more cost-effective, saves time, allows for some creativity with color choices, and it's a satisfying DIY project for those who enjoy working with their hands.
Challenges of Painting Laminate Cabinets
The main challenge with painting laminate is the smooth, non-porous surface. This makes it difficult for paint to stick without proper preparation. Furthermore, laminate is also prone to chipping and peeling over time, so choosing the right materials and techniques is essential to achieve a durable and professional finish.
Tools and Materials
Gather the following tools and materials before you begin:
- Screwdriver (for removing cabinet doors and hardware)
- Sandpaper (medium and fine grit)
- Tack cloth
- Primer specifically formulated for laminate surfaces
- High-quality paint (preferably one designed for kitchen and bathroom use, given the frequent need for cleaning)
- Paintbrushes and rollers
- Drop cloths
- TSP cleaner (or a degreaser)
- Protective gear (gloves, goggles, mask)
Choosing the Right Paint
Selecting the correct type of paint is crucial for the project's success. Latex, acrylic, or oil-based paints work well for laminate cabinets. These options provide a durable finish that can withstand cleaning and won't easily chip or peel. It is also advisable to use a semi-gloss or high-gloss finish, which will make cleaning much easier.
Primer Matters
Using a high-quality primer that is specifically designed for laminate surfaces is essential. This will help the paint to adhere properly and prevent the laminate color and texture from bleeding through. A primer with adhesion-promoting qualities is a must for this project.
Preparation
Proper preparation is the key to achieving a professional-looking result:
Step 1: Remove Cabinet Doors and Hardware
Take your screwdriver and carefully remove all cabinet doors. Keep track of the hardware you remove and store it in a safe place. It's often helpful to label each set of hardware according to the door it belongs to, to make reassembly easier.
Step 2: Clean the Surfaces
Thoroughly clean all surfaces with TSP cleaner or a degreaser to remove any built-up grime or grease. This step is crucial for ensuring that the primer and paint can adhere to the laminate properly. Be sure to rinse with clean water and allow the cabinets to dry completely.
Step 3: Sand the Surfaces
Use medium-grit sandpaper to scuff the laminate surfaces, providing some "tooth" for the primer to adhere to. Afterward, use a fine-grit sandpaper to smooth out any rough areas. Sanding will also help to remove any shininess from the laminate, ensuring better paint adhesion.
Step 4: Wipe Down the Cabinets
After sanding, use a tack cloth to remove all dust and debris. The cabinets should be as clean and free of particles as possible before you begin priming.
Priming Laminate Cabinets
Why Primer is Important
A primer serves as a foundation for the paint, promoting adhesion to the laminate surface. It also helps to block stains and prepare the surface for the application of the final paint coats.
Applying the Primer
Using a high-quality brush and roller, apply the primer in thin, even coats. Be sure to follow the manufacturer's instructions regarding drying times and the number of coats required. Allow the primer to dry completely before moving on to the next step.
Painting Laminate Cabinets
With the preparation complete, it's time for the fun part – painting!
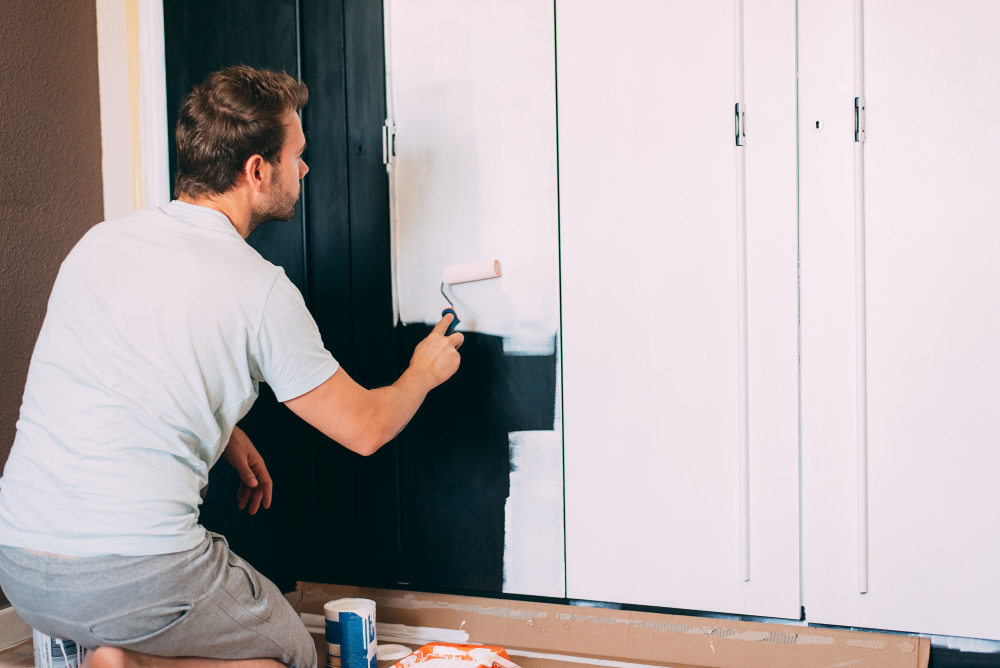
Step 1: Apply the First Paint Coat
Using a high-quality brush and rollers, apply the first coat of paint. Start with the inside edges and framework, and then move on to the outer surfaces. Work in the direction of the wood grain if your laminate has one, or in the direction of the longest panels. Allow this coat to dry completely before proceeding.
Step 2: Sand Between Coats
After the first coat has dried, lightly sand the cabinets with fine-grit sandpaper to smooth out any imperfections. Wipe the cabinets with a tack cloth to remove dust before applying additional coats.
Step 3: Apply Additional Coats
Depending on the coverage provided by the first coat, you may need to apply one or two additional coats. Be sure to allow each coat to dry completely and sand between coats for the best finish.
Step 4: Reassemble the Cabinets
Once your final coat of paint is dry, reassemble the cabinets by attaching the doors and hardware. Take the time to make sure everything is properly aligned and functioning as it should.
Caring for Your Painted Laminate Cabinets
Your newly painted cabinets will require some care to maintain their beauty and durability.
Wait Before Use
It's best to wait at least 24 hours before using the cabinets to allow the paint to fully cure. This will help prevent premature wear and tear.
Cleaning and Maintenance
To clean your cabinets, use a mild detergent and water with a soft cloth. Avoid harsh abrasives that can scratch the paint. Regular cleaning will help keep your cabinets looking like new for years to come.
Touch Ups
With time, your cabinets may experience some wear. Keep a small amount of paint for touch-ups, and store it carefully so it doesn’t dry out. Use a small brush to refinish any areas that need attention.
Protect Against Heat
Excessive heat or steam can damage the paint on your cabinets. Be cautious with appliances and make sure your kitchen is well-ventilated to prevent problems.
Final Thoughts
Painting your laminate cabinets can be a rewarding project that gives your kitchen a fresh, new look. By following the proper steps and using the right materials, you can transform your space with a professional-quality finish. Remember to take your time with each step, and don't rush the drying process. A little patience will ensure that your hard work lasts for years to come.
Ready to get started painting your laminate cabinets? Lakestone Painting is here to help. Our team of professional painters is experienced in transforming spaces with color. If you're looking for professional painters in Winter Springs, FL, contact us today for a free consultation and get one step closer to your dream kitchen.