The Do-It-Yourselfer's Guide to Fixing Painting Mistakes on Walls
Bristles and rollers poised, you spent the weekend transforming your living room walls from a bland off-white to a lively, energizing shade of coral. The satisfaction that comes with a fresh coat of paint is unbeatable, but what if, upon stepping back to admire your handiwork, you notice drip marks, missed spots, or uneven coverage? Before frustration sets in, know that fixing painting mistakes on walls is not as hopeless as it may seem. Whether you're a veteran DIY painter or picking up a brush for the first time, this guide will help you correct those common blunders and get your walls looking their best.
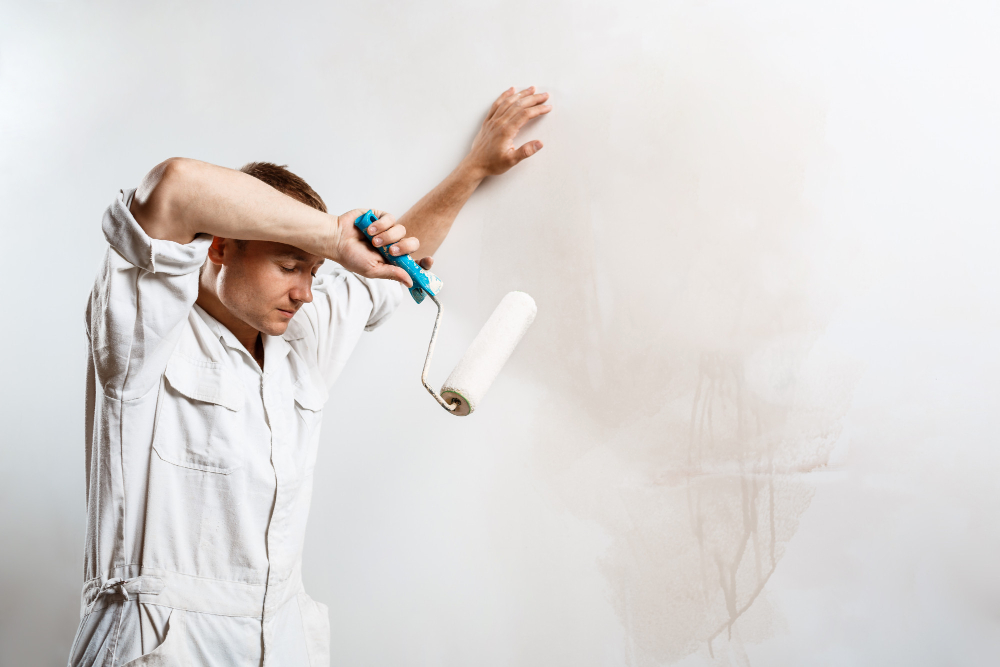
Checklist for Correcting Painting Mishaps
Before you begin correcting painting blunders, you'll need to gather a few supplies. Here's what you'll need:
- The paint color you used for the original project, either leftover from the can or newly purchased. Make sure it's the same color and finish (e.g., both are eggshell or both are flat) of the paint that's already on the wall.
- Sandpaper (medium grit usually suffices, but refer to the painting instructions if you're unsure).
- A putty knife or painter's tool for filling holes or dings in the wall.
- A step ladder if the error is above your head.
- A high-quality brush or roller (again, matching the original application tool is important for consistency).
- Painters tape for creating clean, straight lines.
Once you've collected these materials, you're ready to start fixing those painting goofs.
The Common Painting Woes and Their Fixes
1. Drips and Runs
What You Did: Overloading the roller or brush with paint, or not smoothing the application quickly enough, leading to drips or runs down the wall.
How to Fix It: Wait for the paint to dry completely, then lightly sand the area to blend the blemish with the wall. Wipe away the dust, gently reapply paint to the sanded area using a brush, feathering the edges to merge with the surrounding paint, and wait for it to dry. If the drip is severe, you may need to repaint the entire wall section.
2. Void Patches
What You Did: Missed spots are often the result of inadequate lighting, wrong roller pressure, or simply overlooking small areas.
How to Fix It: Touch up the voids with a small brush or mini-roller, using the same technique and pressure as the original application. Be sure to feather the edges to blend with the surrounding paint.
3. Shiny Spots
What You Did: Painting too heavily in localized areas can create shininess or a "flashing" effect where the paint's sheen appears inconsistent.
How to Fix It: Similar to fixing drips, sand the shiny area lightly, remove the dust, then repaint using a brush or roller as appropriate to the texture of your wall.
4. Uneven Coating
What You Did: Failing to maintain a consistent pressure or spread with your application tool can lead to inconsistent coating with some areas appearing darker or lighter than others.
How to Fix It: For small inconsistencies, go over the lighter areas with a second coat using the same roller or brush technique. When dealing with larger sections, the best approach may be to repaint the entire wall to ensure uniformity.
5. Paint on the Ceiling or Trim
What You Did: Accidentally painting onto the ceiling or adjacent trimwork during your wall project.
How to Fix It: Depending on the severity and your skill level, you can either carefully paint over the mistake with matching ceiling or trim paint or use a putty knife and spackle to remove the dried paint, followed by appropriate touch-up. Or, you can use painter's tape to protect the surrounding surfaces.
Preventative Techniques for Next Time
The best way to handle painting mistakes is to avoid them altogether. Here's how:
- Use painter's tape to protect surfaces you don't want to paint.
- Maintain a wet edge when painting to avoid lap marks and other application inconsistencies.
- Don't over-saturate your roller or brush with paint.
- Work in good lighting, ideally with a combination of natural and artificial light.
By following these tips, you'll be better equipped to tackle your next painting project with confidence.
Calling in Professional Help
While many painting errors can be rectified by a homeowner, there are some situations that may require the skilled hands of a professional painter. If after your touch-up attempts, the wall still looks off, it may be time to call in a pro to assess the situation. Professionals have access to industry-standard tools and are well-versed in the techniques needed to handle complex painting issues.
Conclusion
Painting walls is both an art and a science. Mistakes are an inevitable part of the process, especially for those new to the craft. However, with the right approach, you can fix these errors and improve the look of your home. Remember that patience is a virtue in the painting world. Take your time, follow the steps, and your walls will be back to their original perfection in no time. If you're looking for professional painters in Winter Springs, FL, contact Lakestone Painting today for a free consultation.